Welcome to Beautific Studios
4019 Westerly Pl, Suite 100A
Newport Beach, CA 92660
LUXURY TATTOO EXPERIENCE
Fine Line Tattoos | Permanent Makeup | Training
in Newport Beach, CA

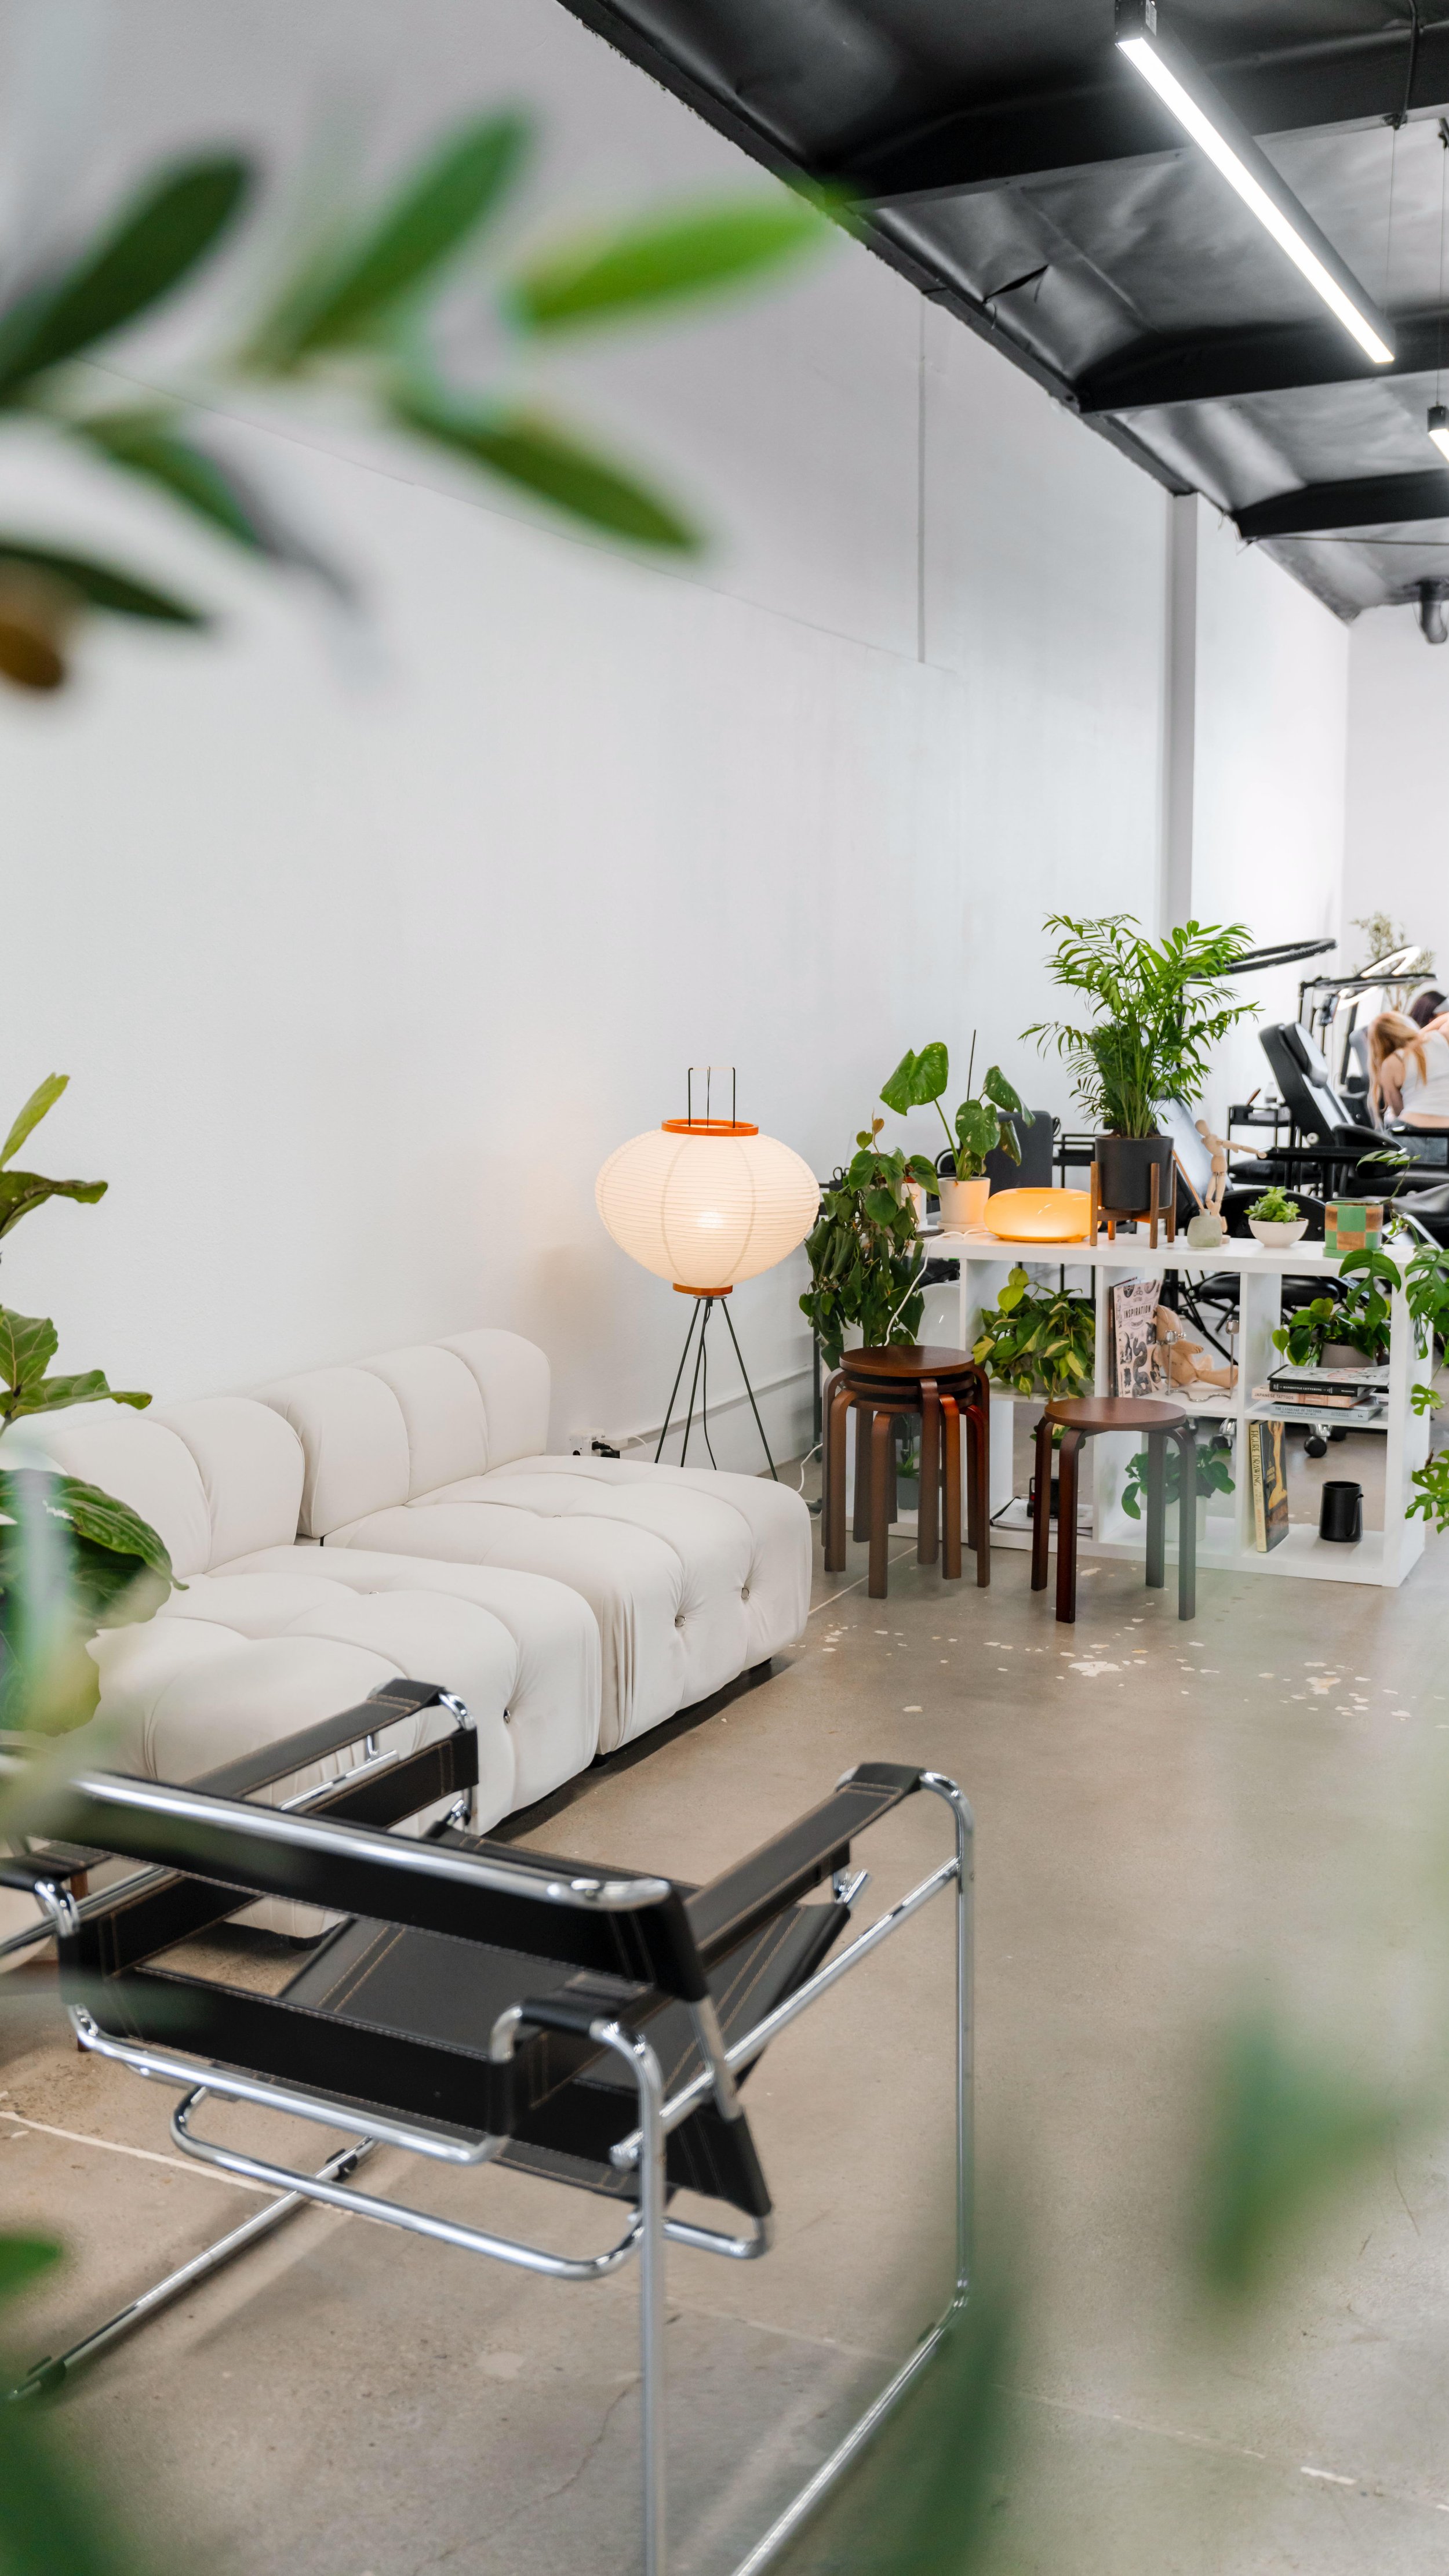
Where Artistry & Self-Expression Meets Luxury
Welcome to Beautific Studios, a luxury beauty studio designed with women in mind but open to all
We specialize in permanent makeup and fine line tattoos in a space that feels calm, comfortable and empowering. Every detail of your experience is thoughtfully curated- from the personalized consultations to a gentle, precise application - so you can feel confident and beautiful in your own skin.
Our Services
-
Fine Line Tattoo
-

Permanent Makeup
-

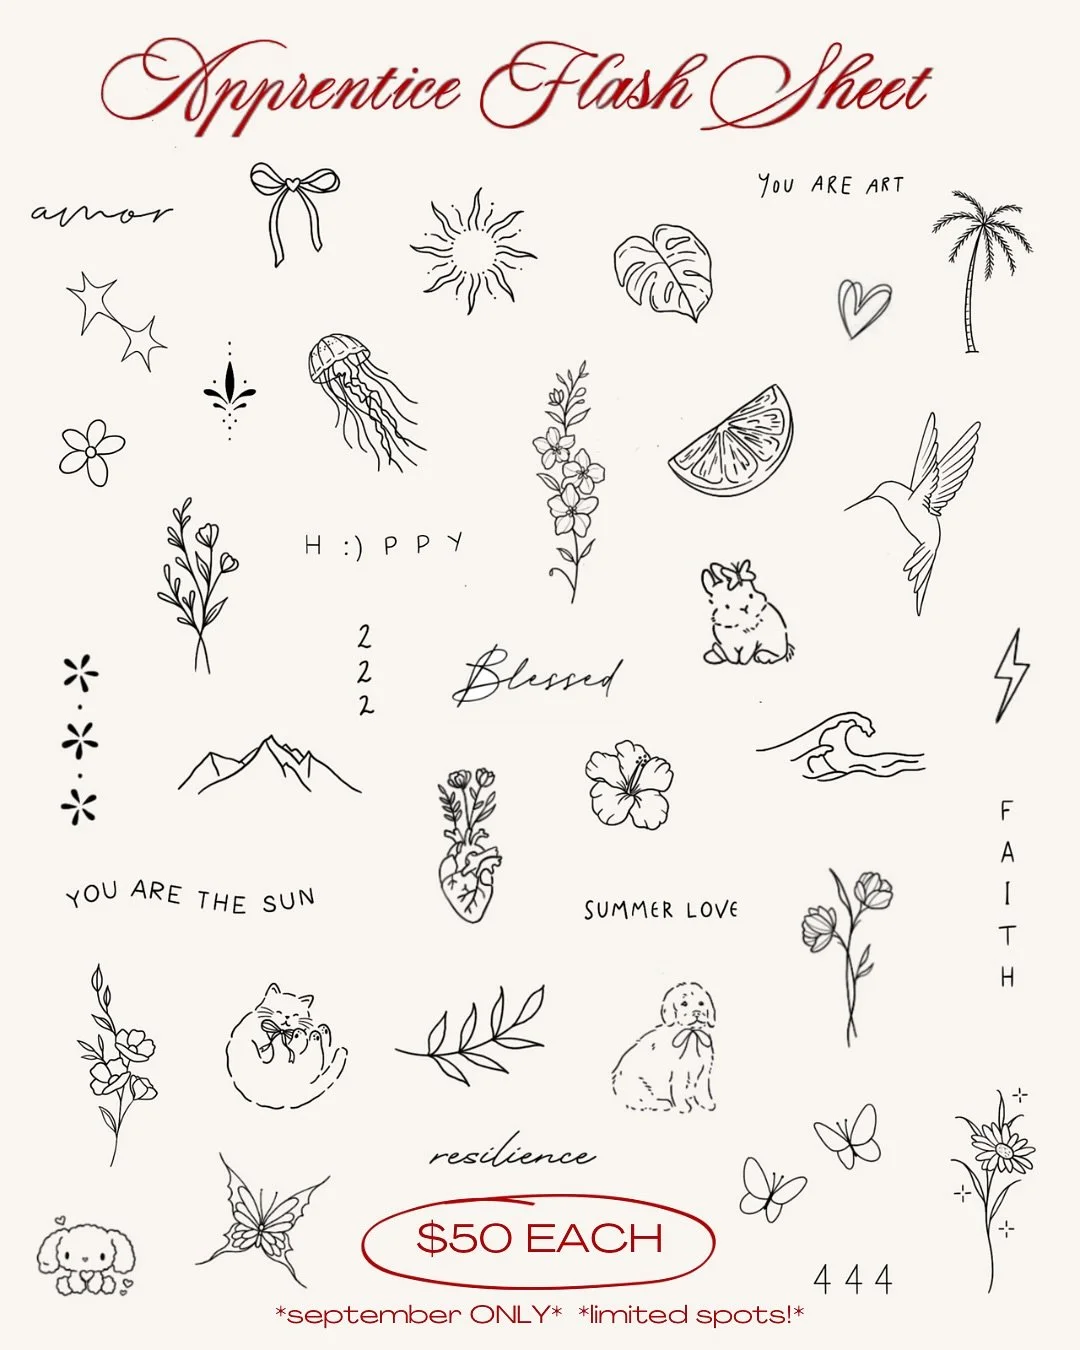
Tattoo Training

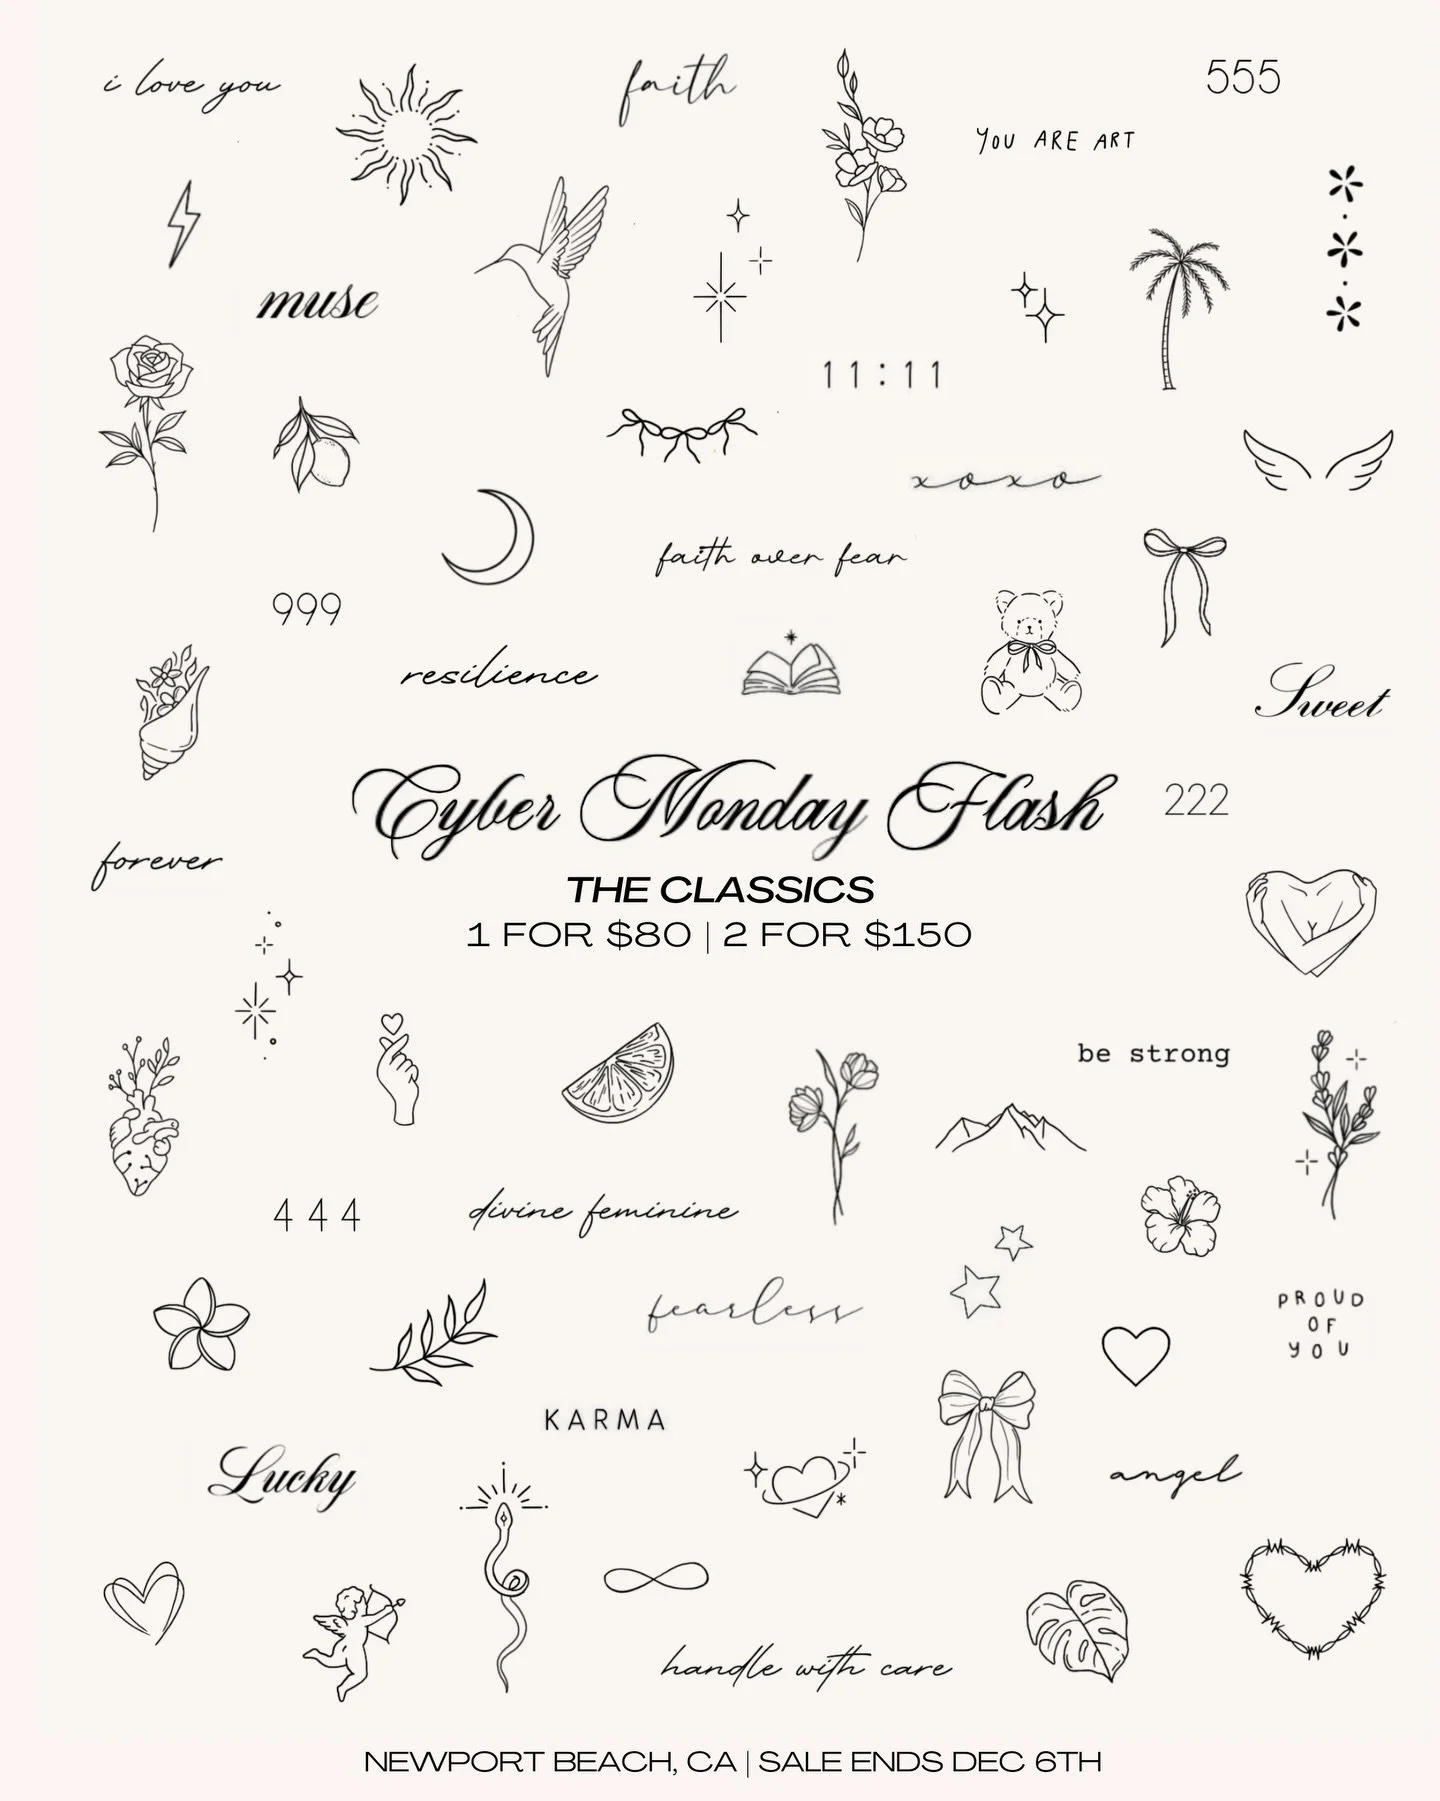
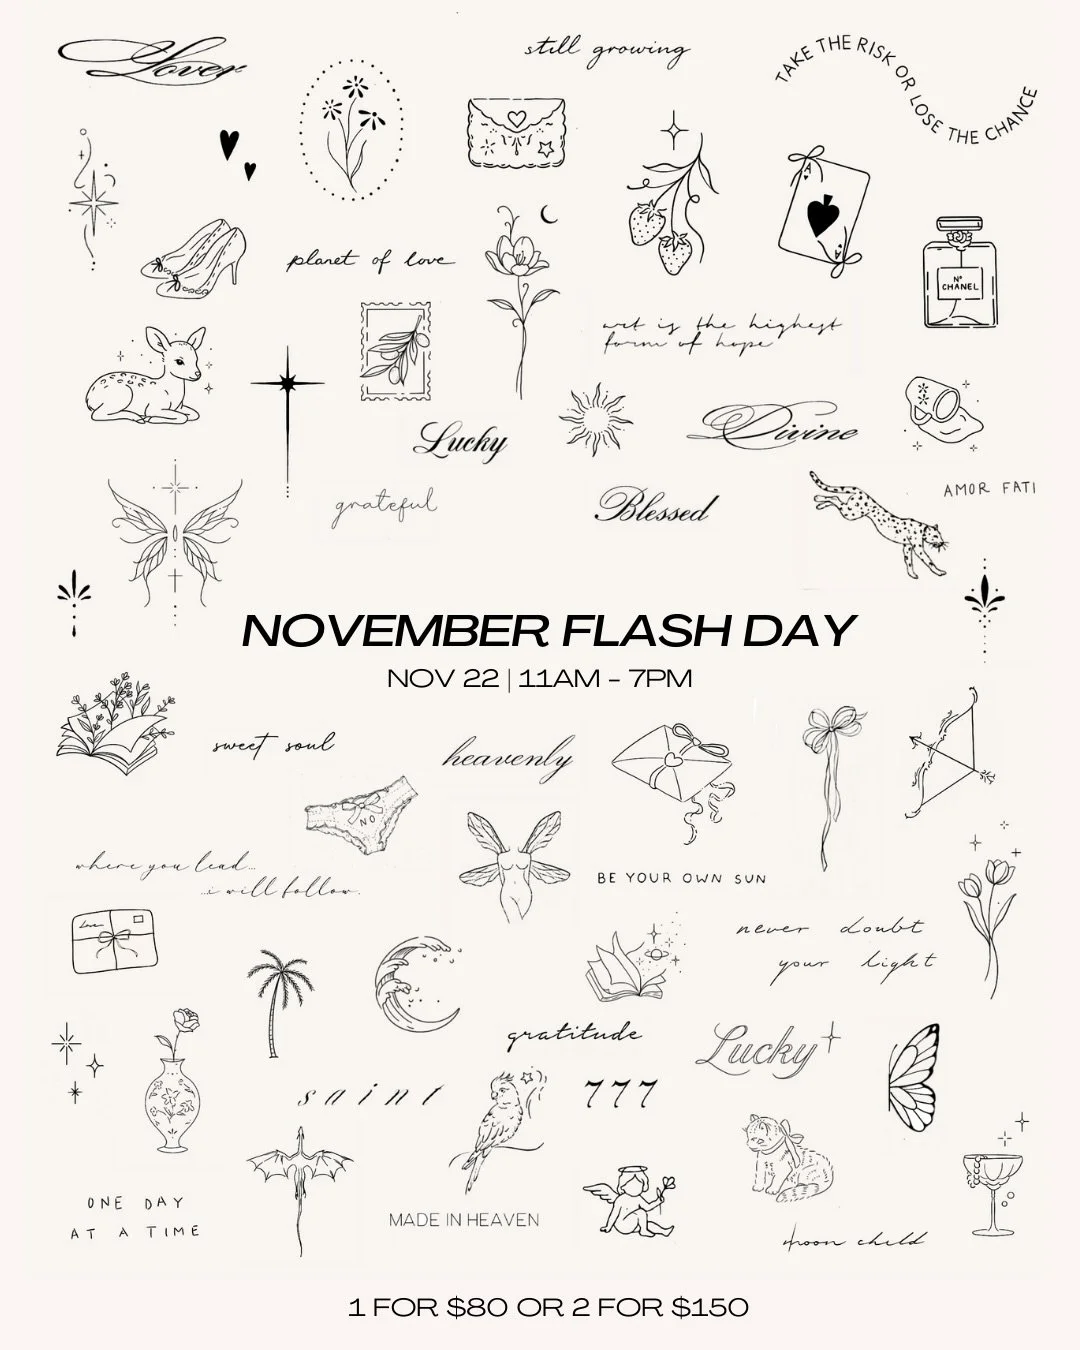
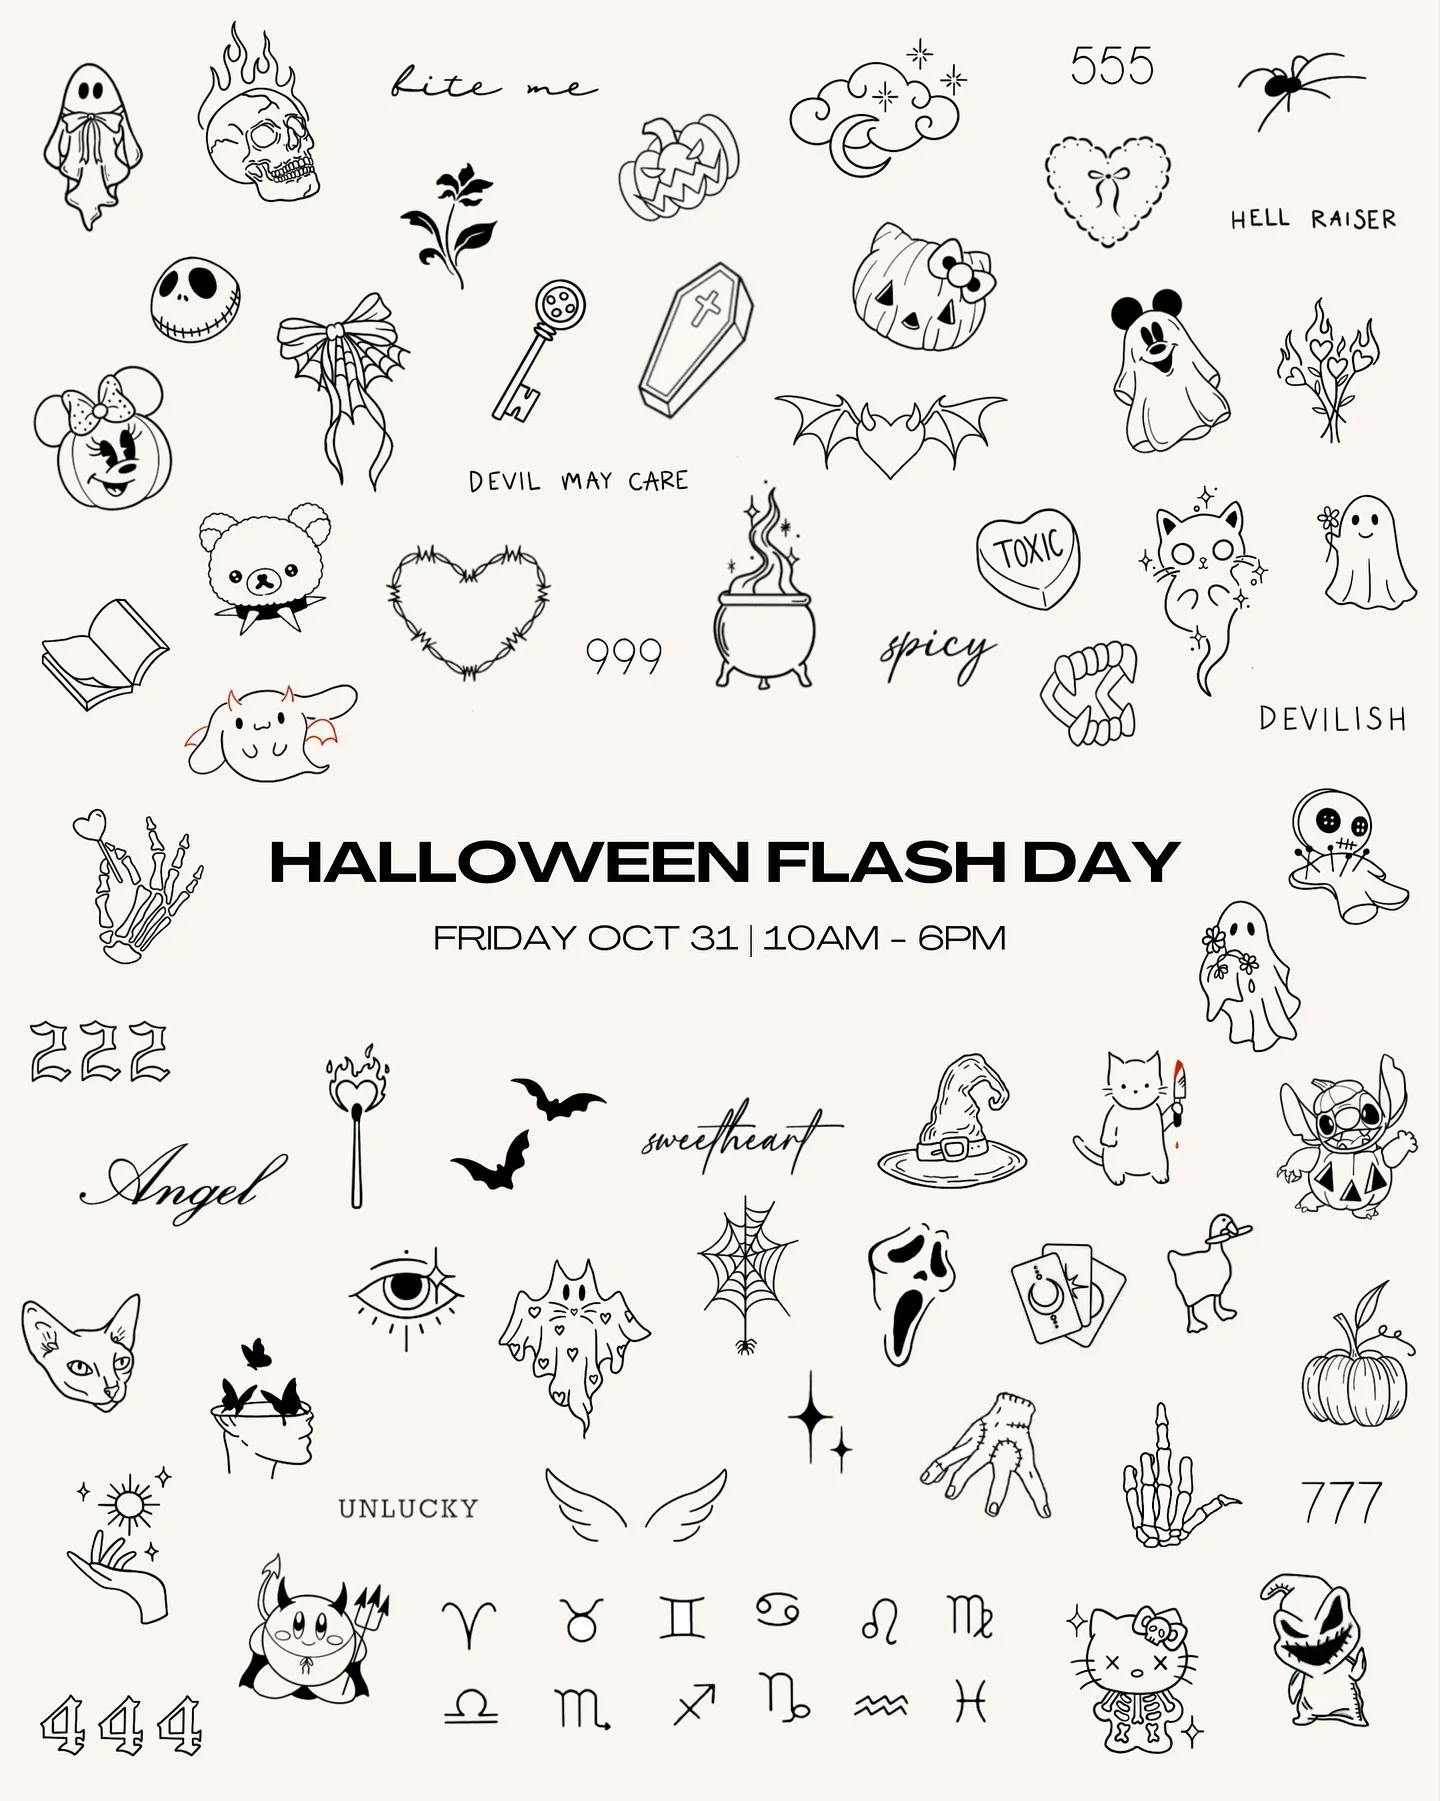
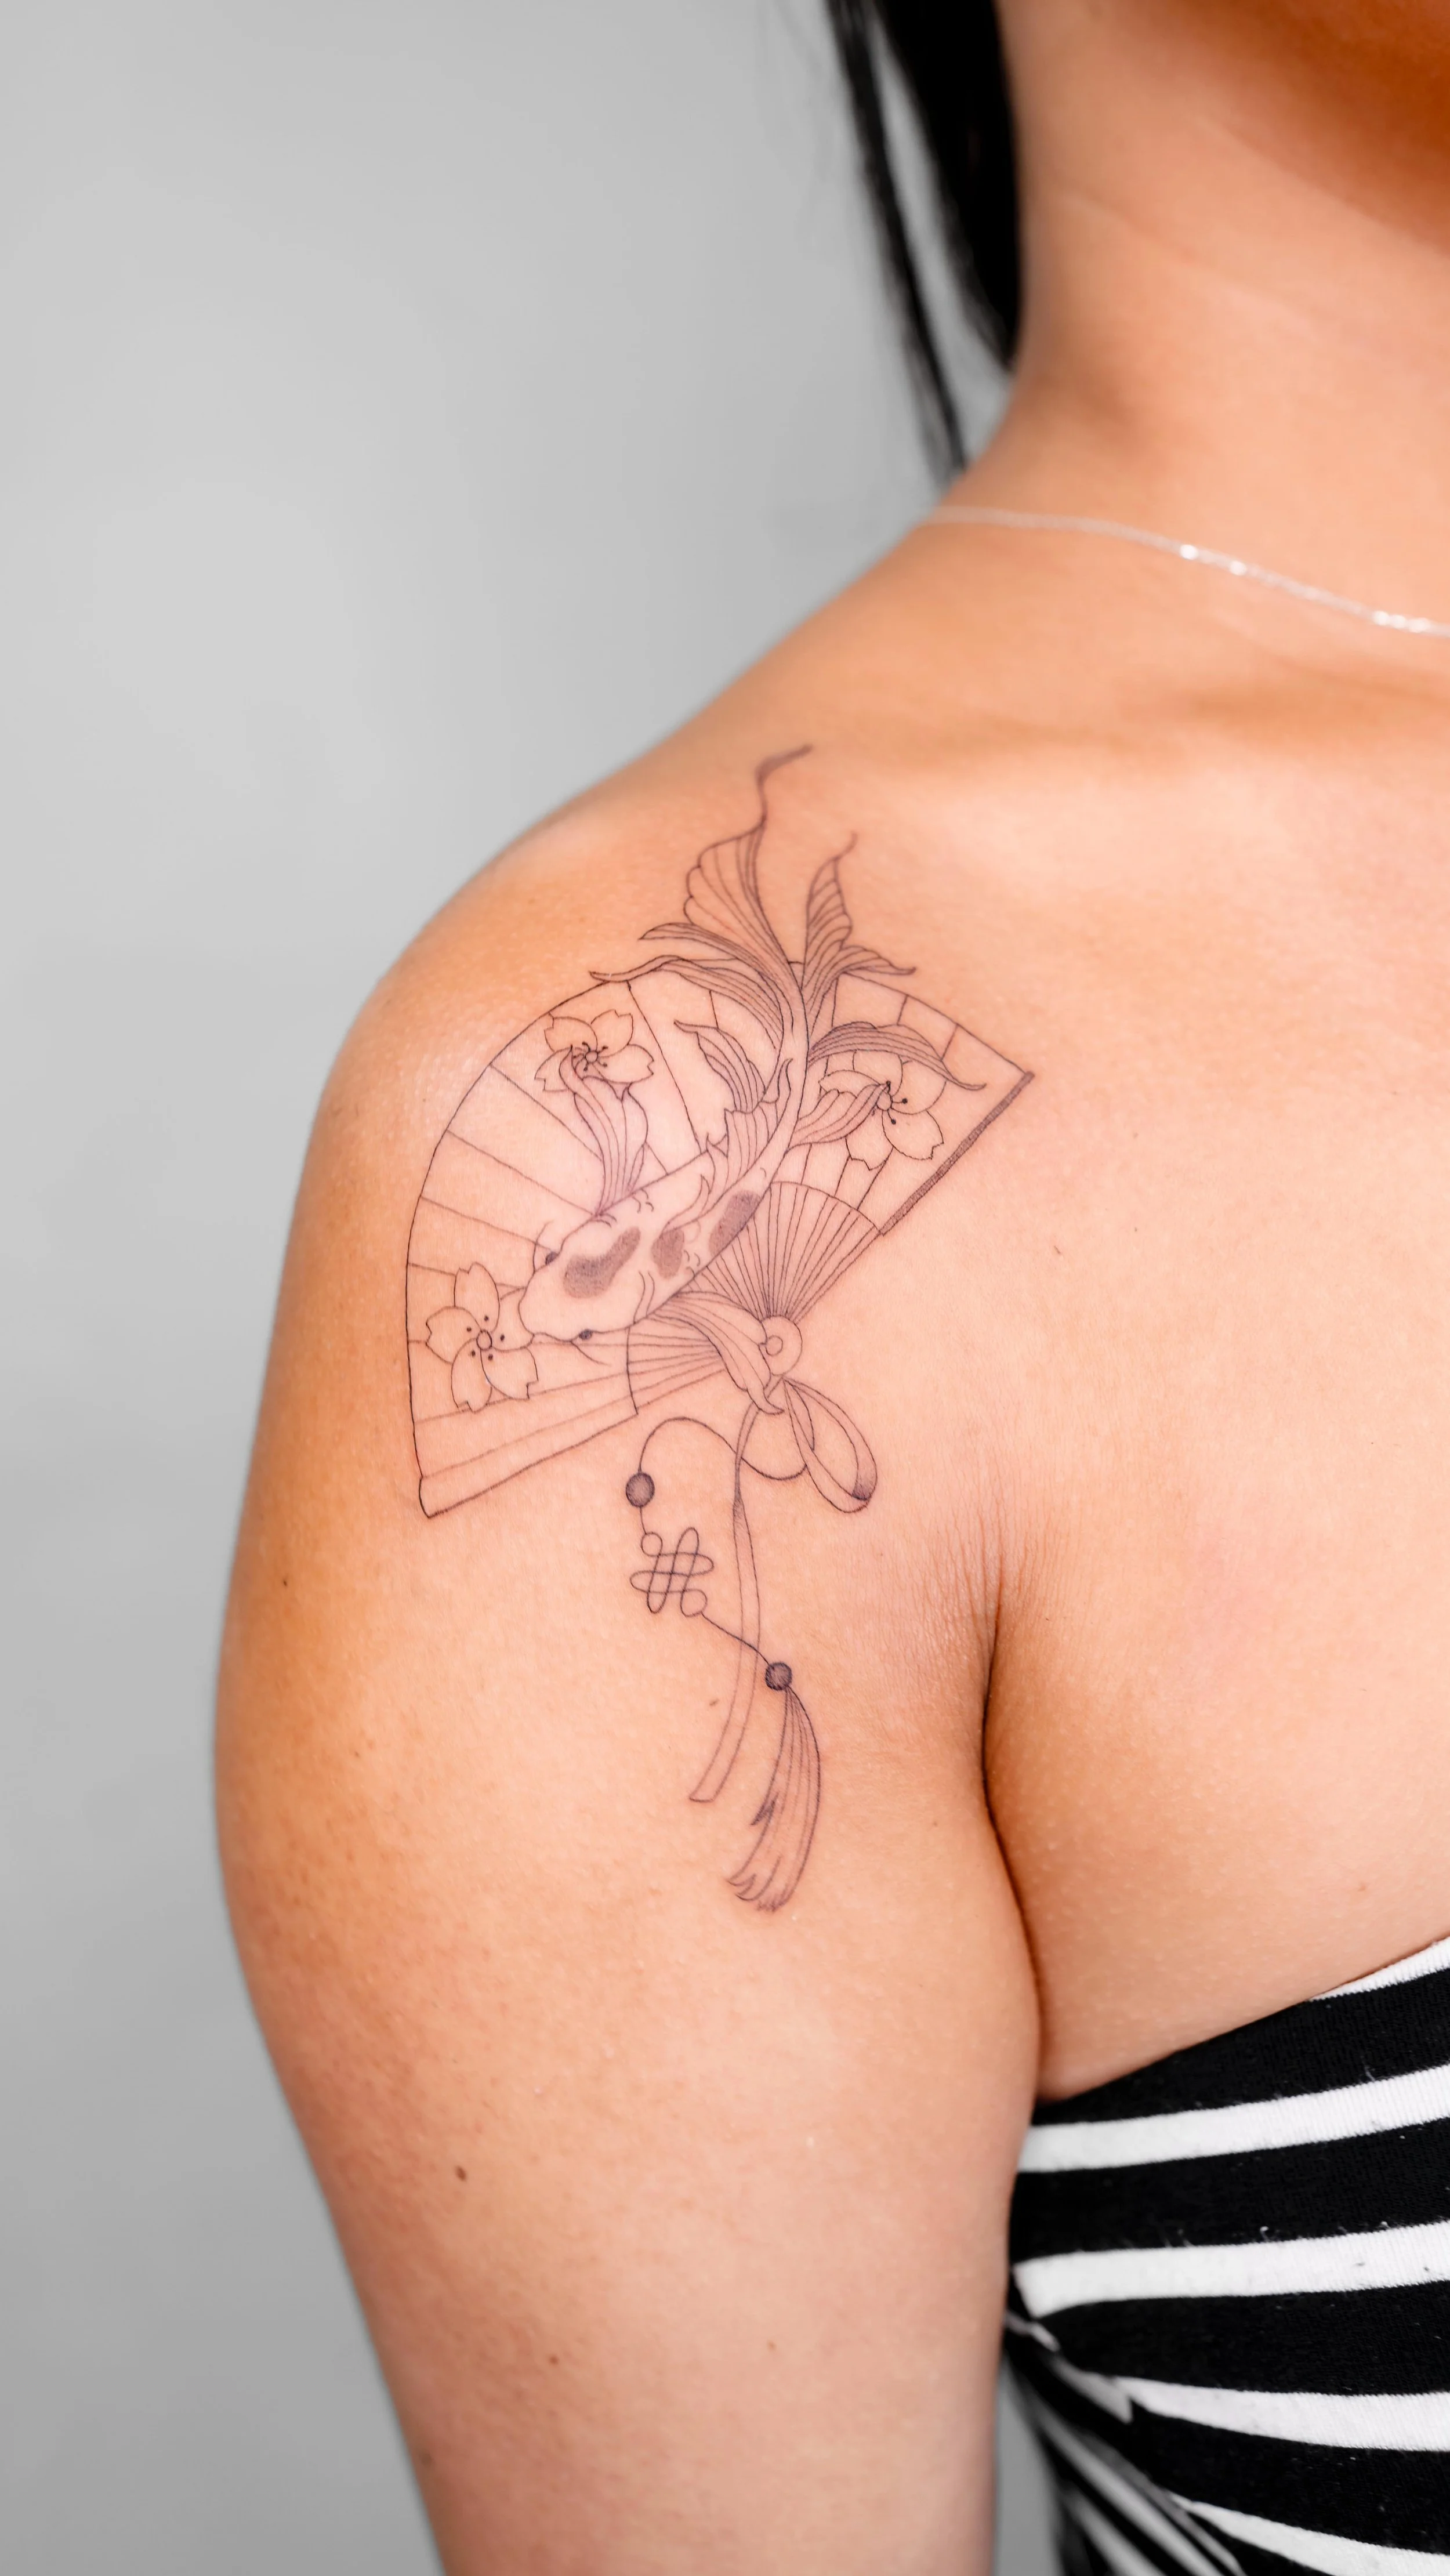
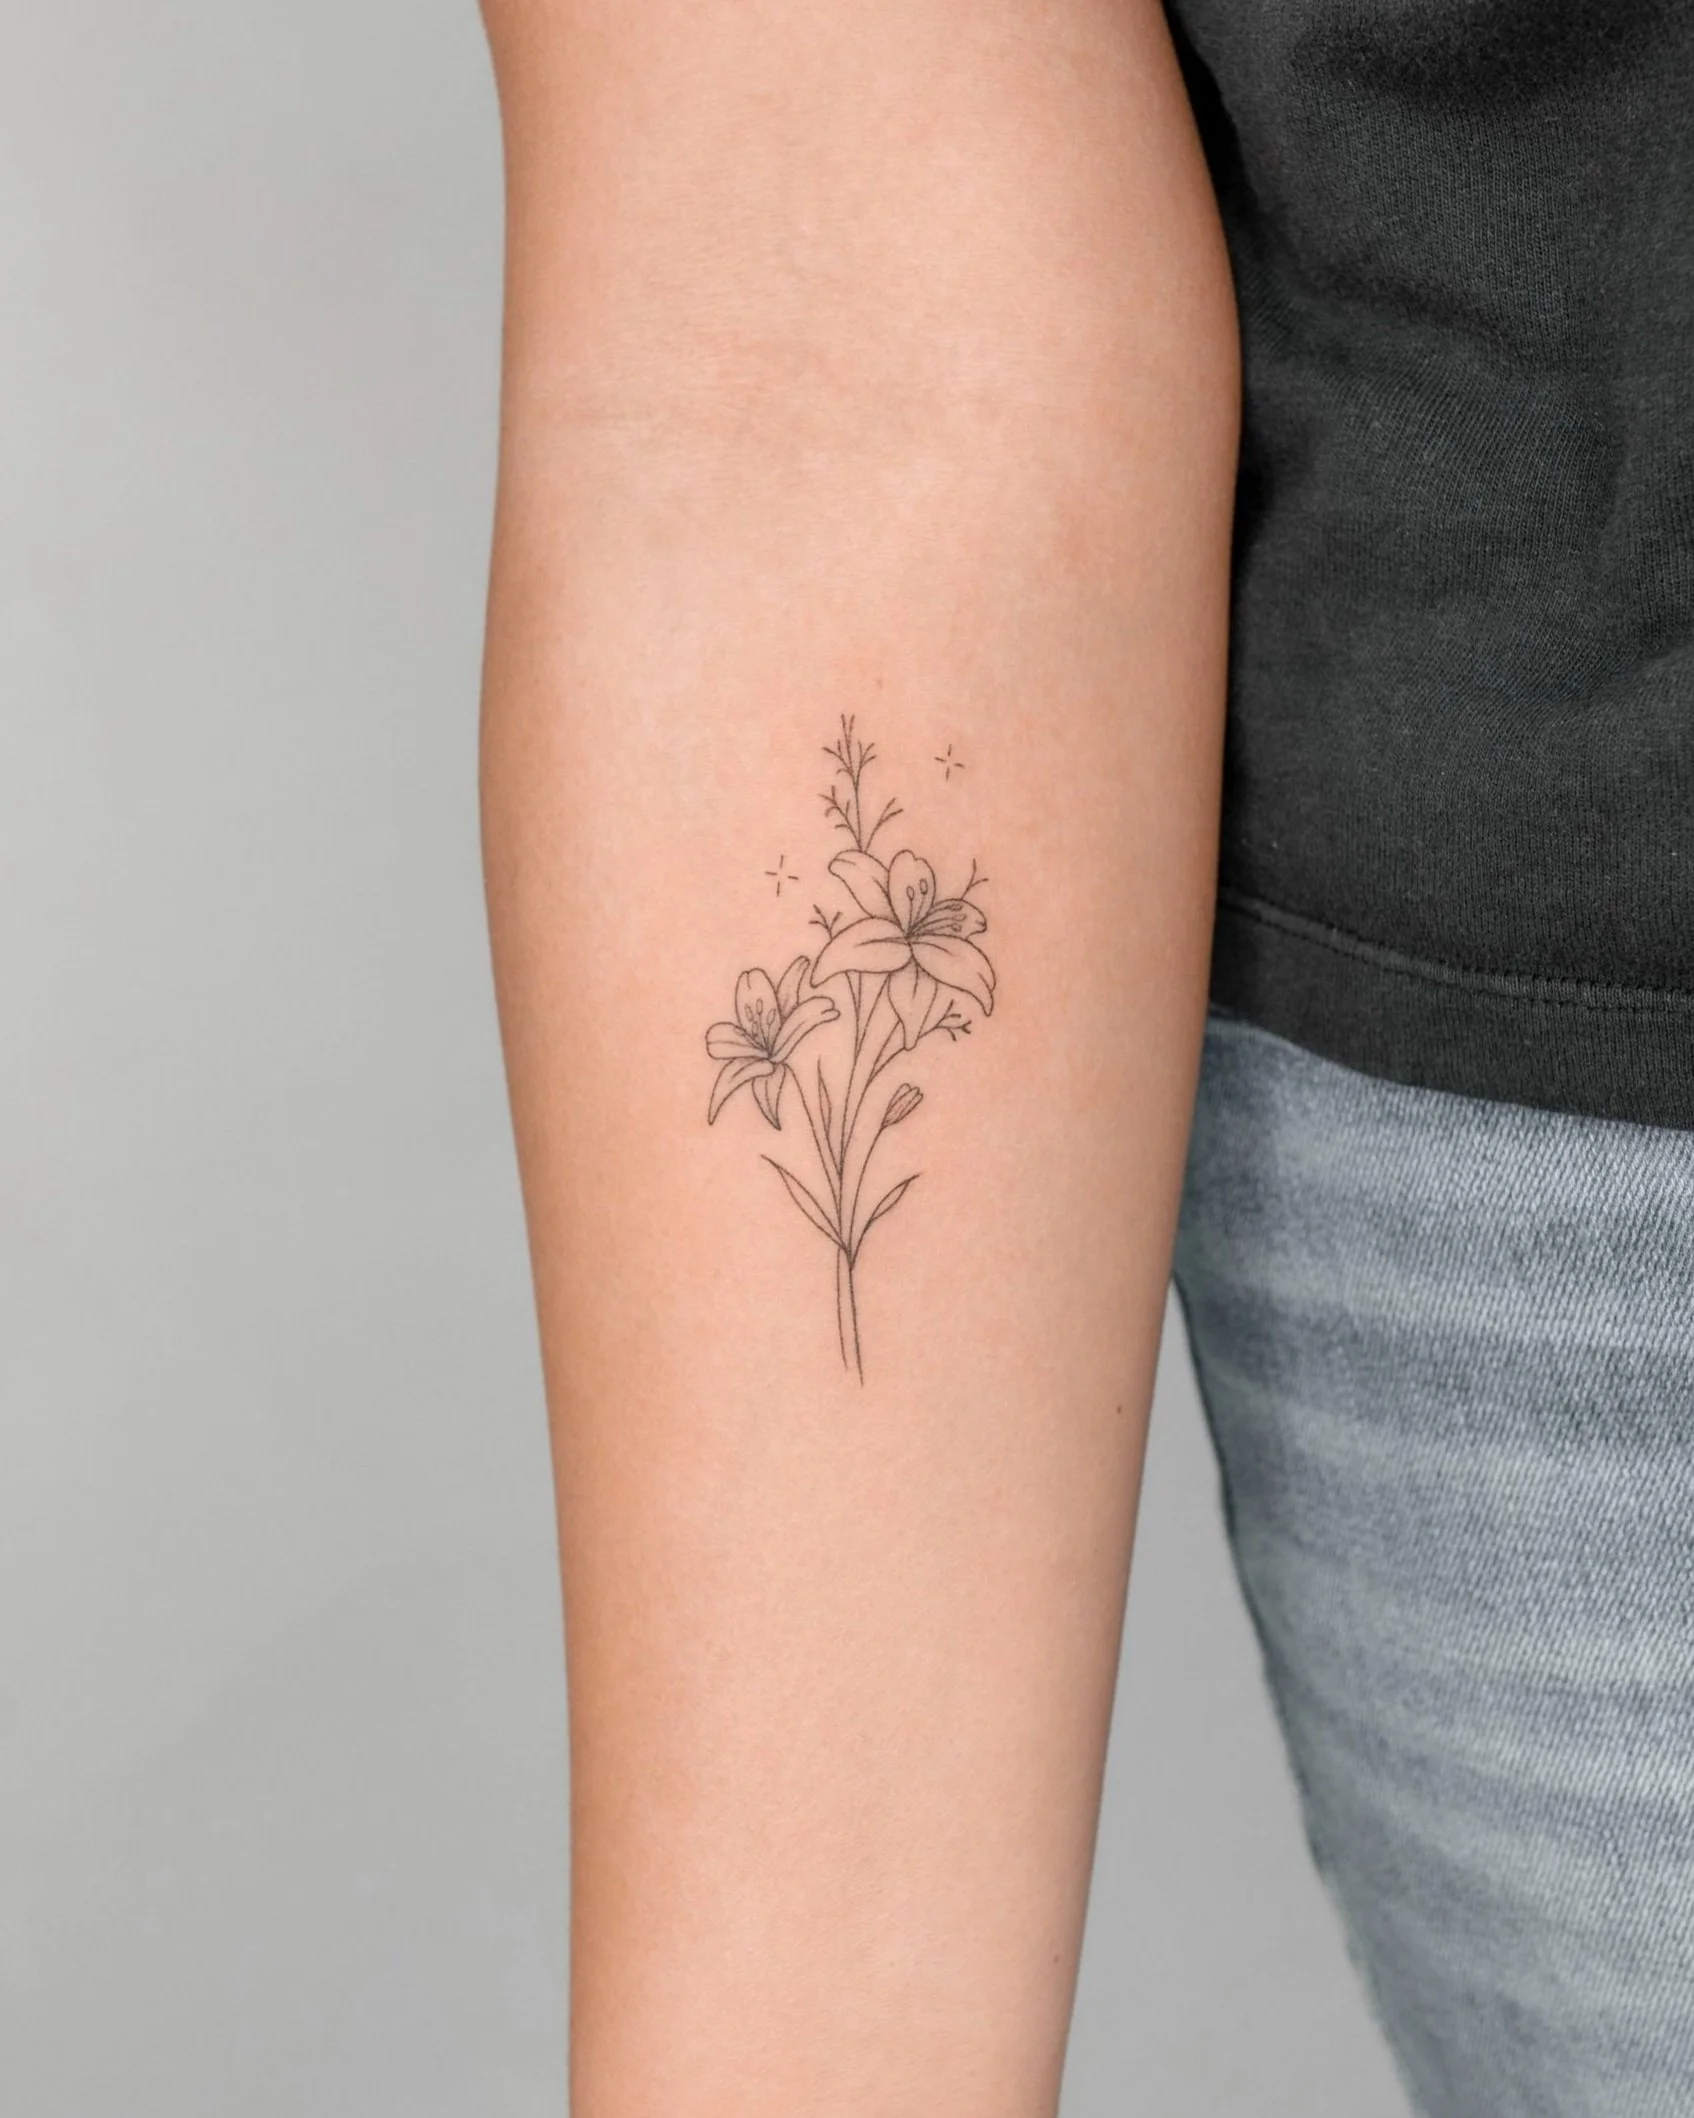
Fine Line Tattoos
Fine-line tattooing is our specialty, crafted for those who appreciate delicate, timeless artistry. Whether you’re looking for minimalist designs, meaningful symbols, or elegant designs, we tailor each piece to complement your unique style. Our luxury approach ensures a comfortable, relaxed experience in a welcoming space where your vision is brought to life with care and mastery.

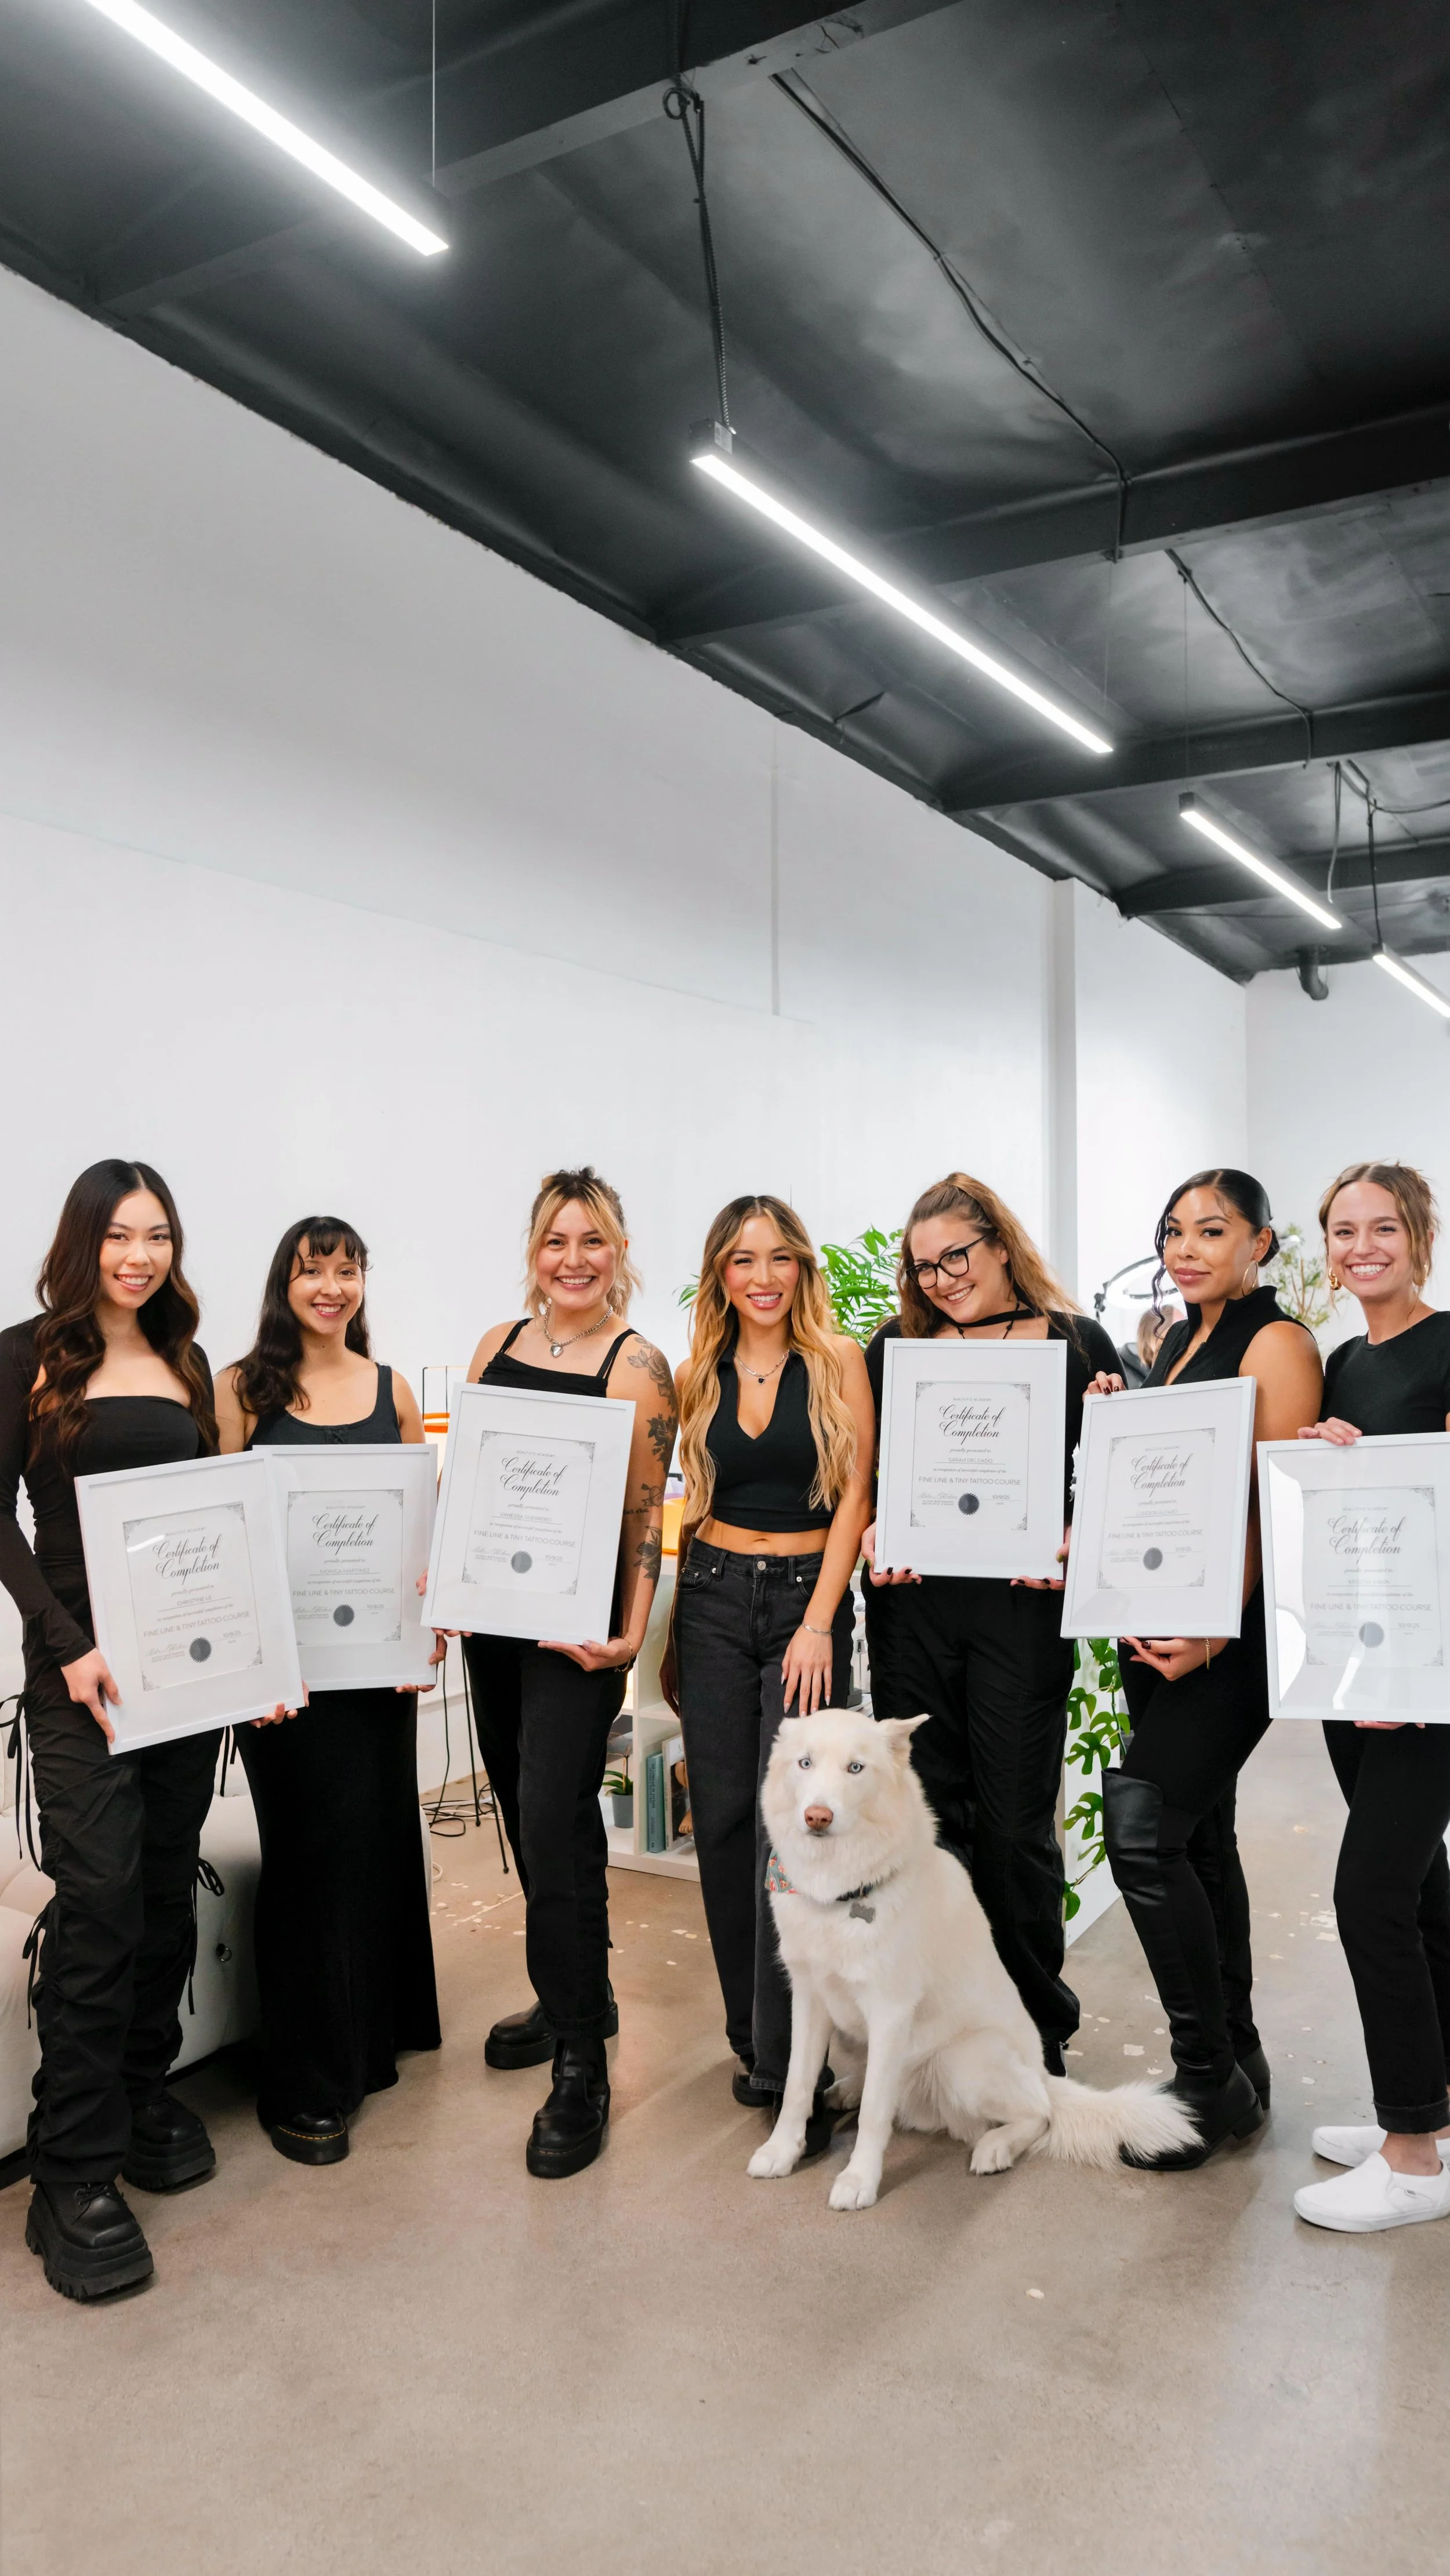
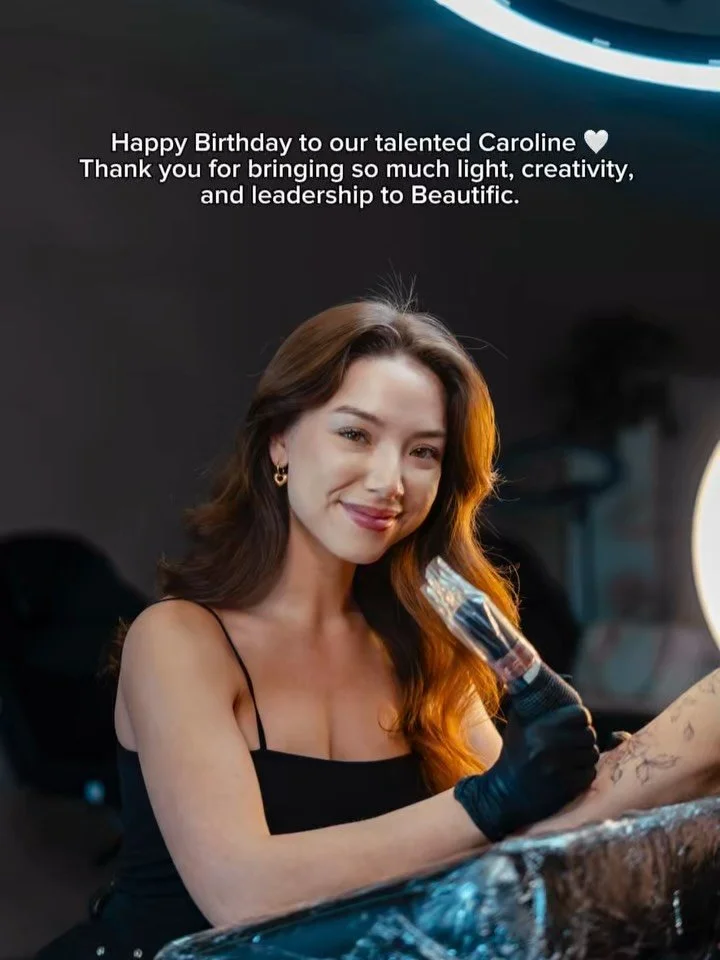
Meet the Team

Alisha Mektrakarn | Owner & Trainer | @beautificbrows & @beautificink
At Beautific Studios, our dedicated team is the heart of our luxury beauty experience. Each artist brings passion, creativity, and expertise in fineline and permanent makeup tattooing
We pride ourselves on fostering a supportive environment where innovation and artistry thrive, making our studio not just a place to work, but a community of inspired professionals.
We hope to see you soon!
Let’s Connect On Instagram!